So, this post is coming from a kid who organized her blocks by color, her barbies by families (they had to ALL be clothed before going into the box too, of course), and the books by genre. I loved for everything to have a place. I even remember asking my mom to please give me a chore chart because I loved lists (who does that?). So now, bringing us to present day, my organization skills have seemingly gone bye bye. I have a million truly legit excuses as to why this is the case, but it doesn’t help my inner organized child from throwing the occasional tantrum. So, I have decided to implement a new toy organization tool.
Creating the tool made for a fun craft project, and it will also hopefully assist my kids learning their colors and numbers. I found two large wooden dice on amazon (I thought about regular dice, but I didn’t want my youngest child to eat them). Basically, one die represents colors, and the other represents numbers. We filled a binder with pictures of the kids toys, color and number coded.
So the idea is that the kids will roll both die, and then play with the toys that coordinate with the randomly chosen numbers and colors. Hopefully this will help us to play with ALL the toys instead of the same ones over and over – which will (hopefully) keep the kids from getting bored. I’m hoping it will also help them to learn to play with just one toy group at a time, and then pick those toys up before rolling the dice again. Maybe it’s overkill, but it fits right in with my inner child. Will it work? Only time will tell. But in the meantime, it was super fun to create!
What you will need:
- Wooden Dice
- Masking Tape
- Binder
- Multi colored card stock
- Printed pictures of toys
- Acrylic paint
- Mod Podge
- Paint pens
- Child proof scissors
- Scotch tape
- Elmer’s glue stick
- Sheet Protectors
- Index Cards
What you will do:
Paint the Dice
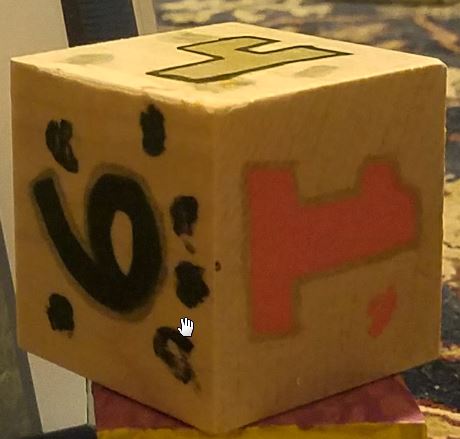
1. Paint the Color Die
- Paint each side of one of the die a different color with acrylic paint. I used masking tape on the unpainted sides to prevent an accidental rainbow effect. Be sure you paint the sides the same colors as the card stock you have available.
- This part of the project took us several days. We had to wait for some of the sides to dry before covering them with masking tape to work on the other sides.
Fingerprints
2. Paint the Number Die
- Using a paint pen, paint a number 1-6 on each side of the die.
- Use the child’s finger to dip into to acrylic paint to create fingerprints to represent each number.
3. Mod Podge both dice
- Once the paint dries, cover with mod podge to seal it all up.
4. Print the toy pictures

Toy Pics
- Take an inventory of your child’s toys, and sort them into groups. For example, a train group would include all trains of any kind. A puzzle group would be all of the puzzles and thinking games.
- Find pictures online that represent that toy group. I tried to find pictures of toys my kids actually have so that they will recognize them.
5. Categorize the toy groups
- Take each of the groups and sort them into categories (represented by a color). Each category should have six groups. For example, the outside toys category could consist of sports toys, riding toys, etc. It’s not essential that every category perfectly describe each group. I mainly did this so all of the outside toys fall under blue and green. That way if it is raining outside I can tell them to roll the die again before they see their favorite outside toy and are then told,”Oops sorry, it’s raining.” Tantrum averted.
- Leave some items blank so you can add more categories if you think of them later.
- Here are some sample categories :

Toy Categories
6. Print and cut out the pictures
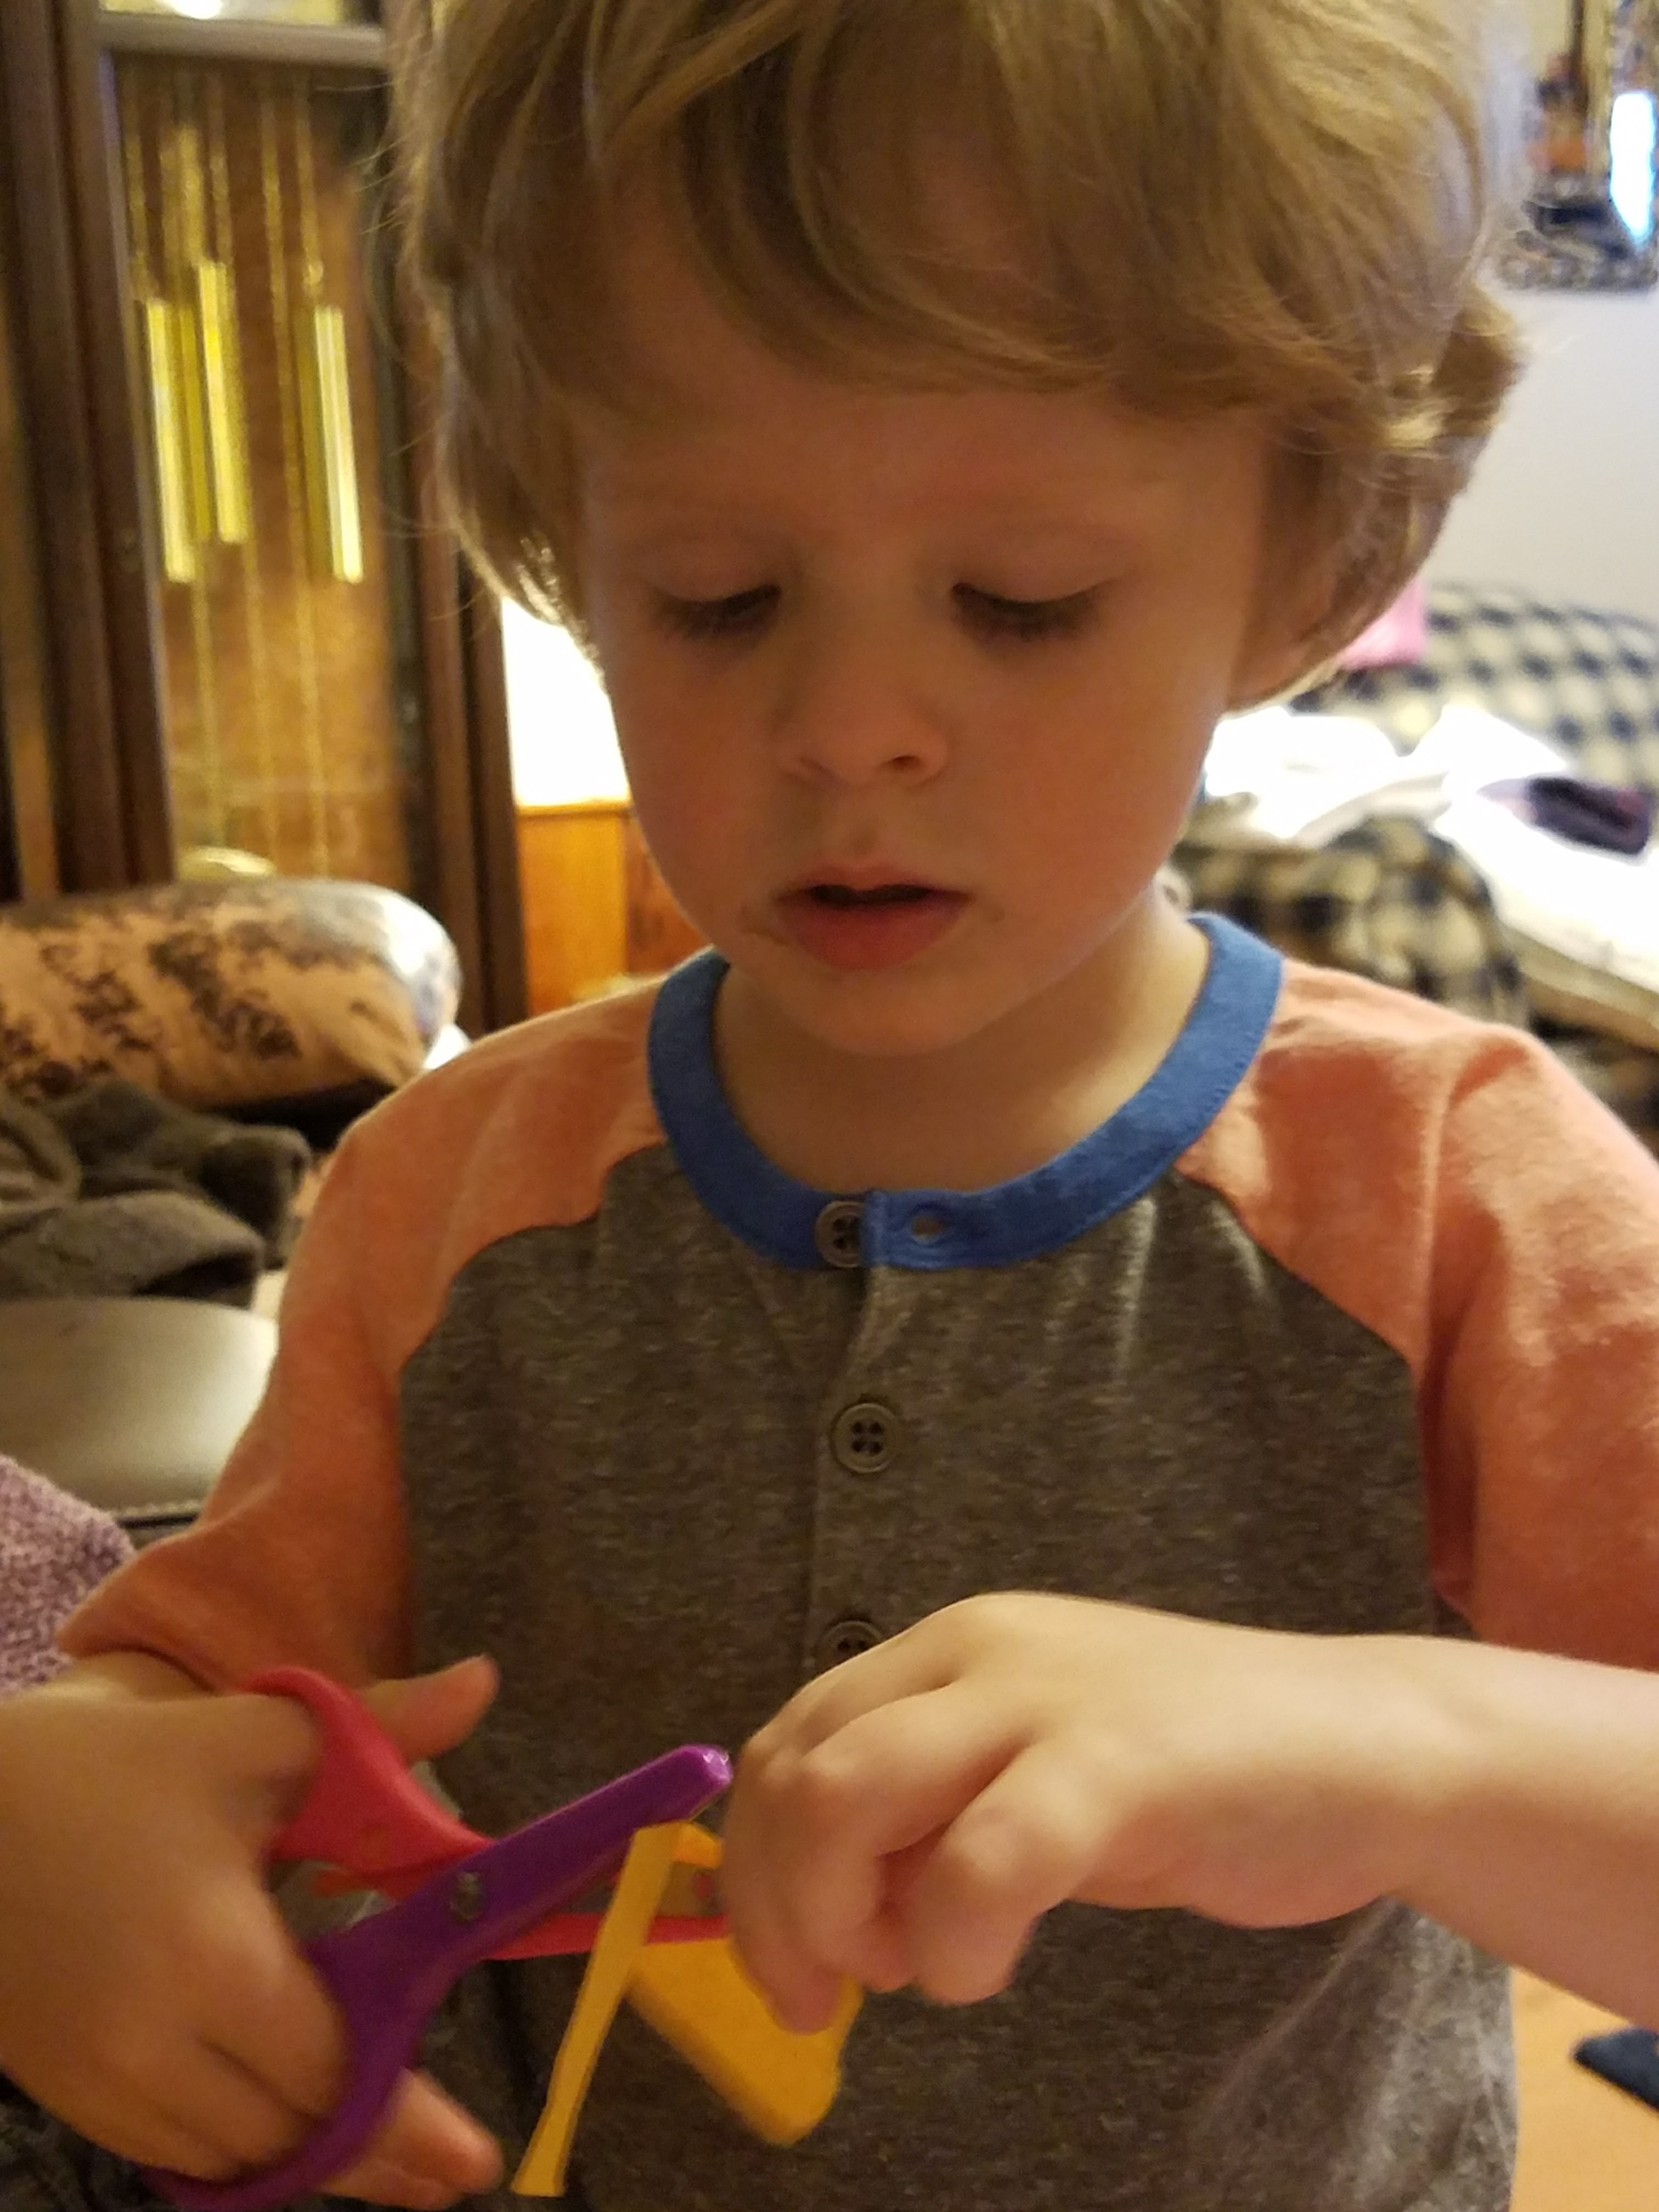
Concentration
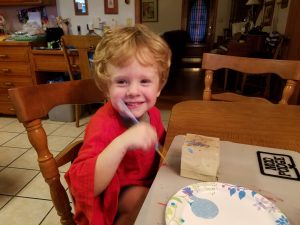
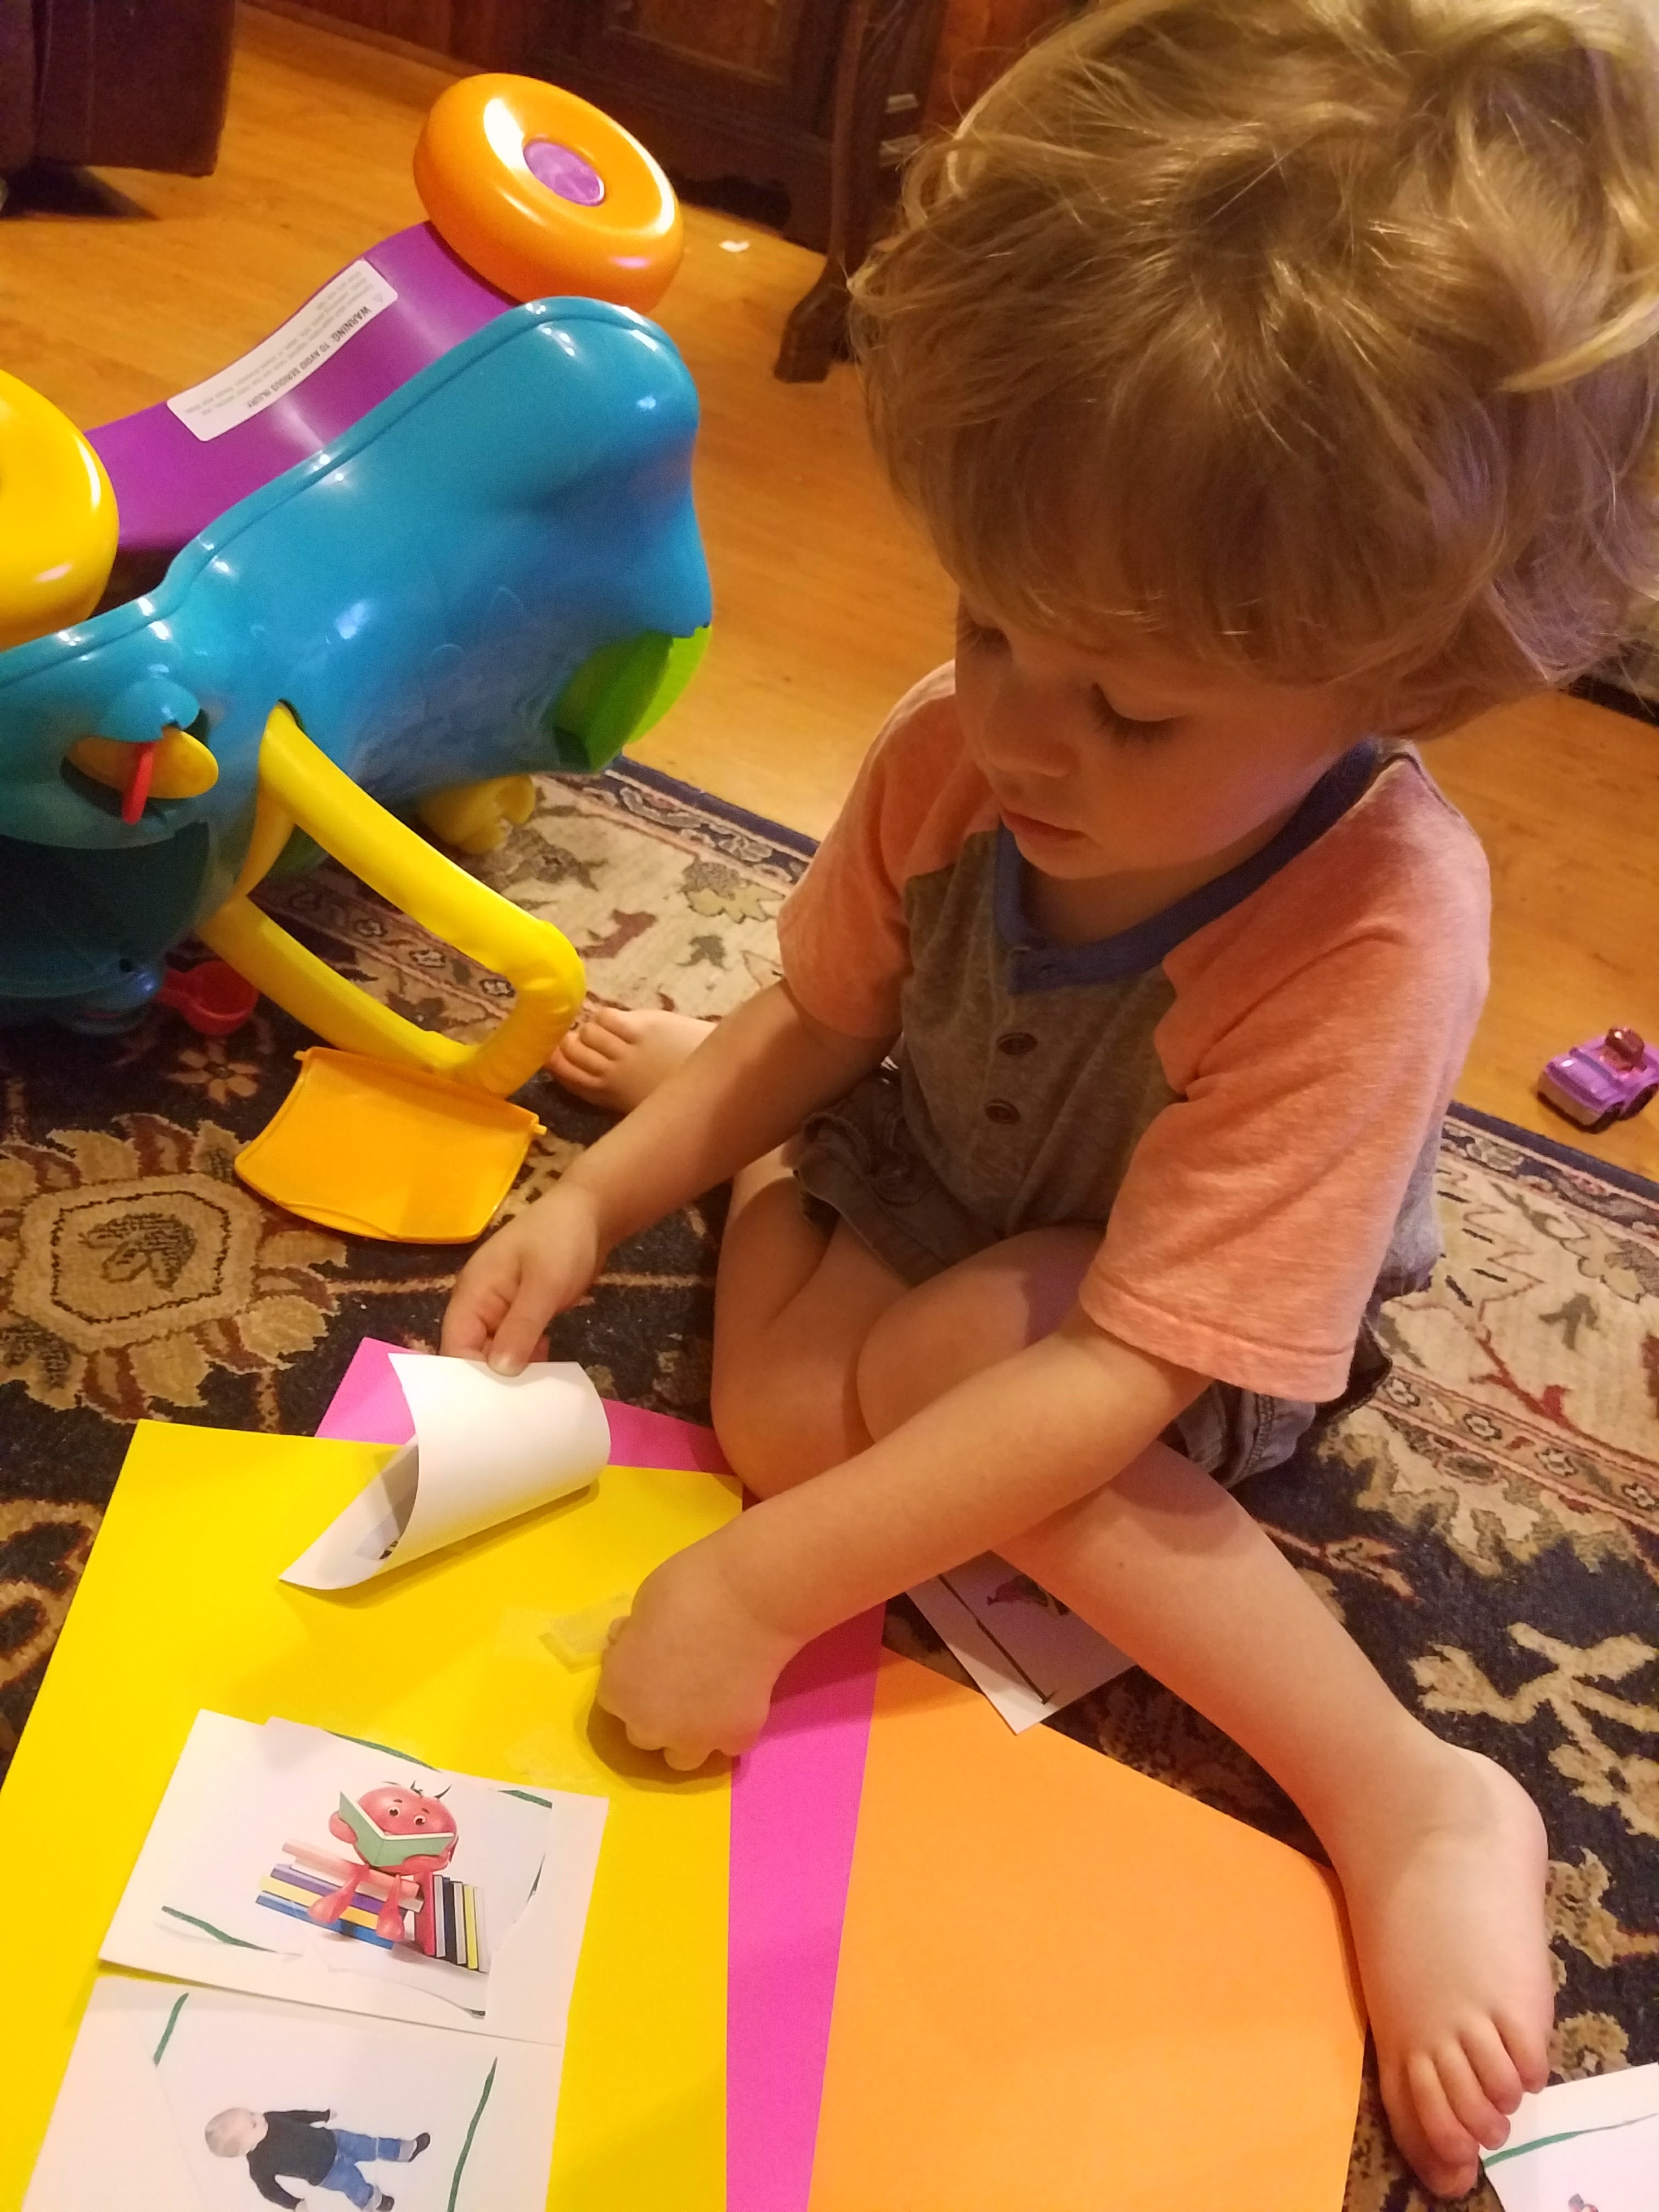
- Print the pictures and let your child cut them out. We also had scotch tape at the ready when he accidently cut through some of them! This also took a few days because a three-year-old’s attention span is not long enough to cut this many pictures in one sitting – at least not my 3 year old.
7. Glue the printed pictures onto index cards
- This step is optional, but I figured putting them on notecards would make them more durable if we want to move them around later.
- Let the child use a glue stick to glue each picture to a separate index card.
8. Tape the index cards to card stock
- Using the category groups you came up with in step 5, let the kids help tape each index card to the appropriate color card stock. I was able to put three index cards per page.
- I used tape so I could easily move them around later if they grow out of certain toys or get a closet full of new ones.
- Number each card 1-6.
 Tape Expert |
 Finished Pages |
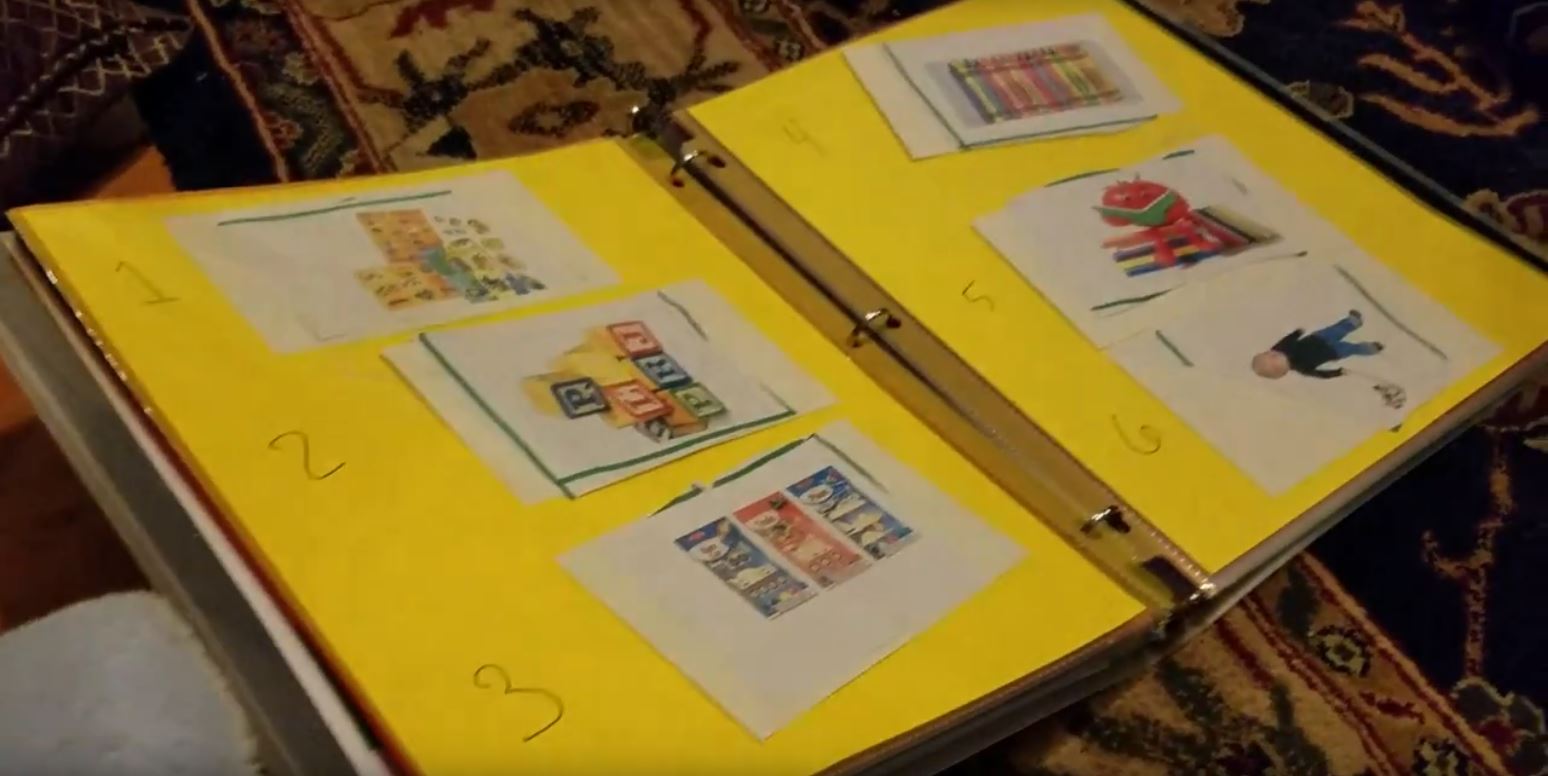
9. Place cardstock pages into the binder
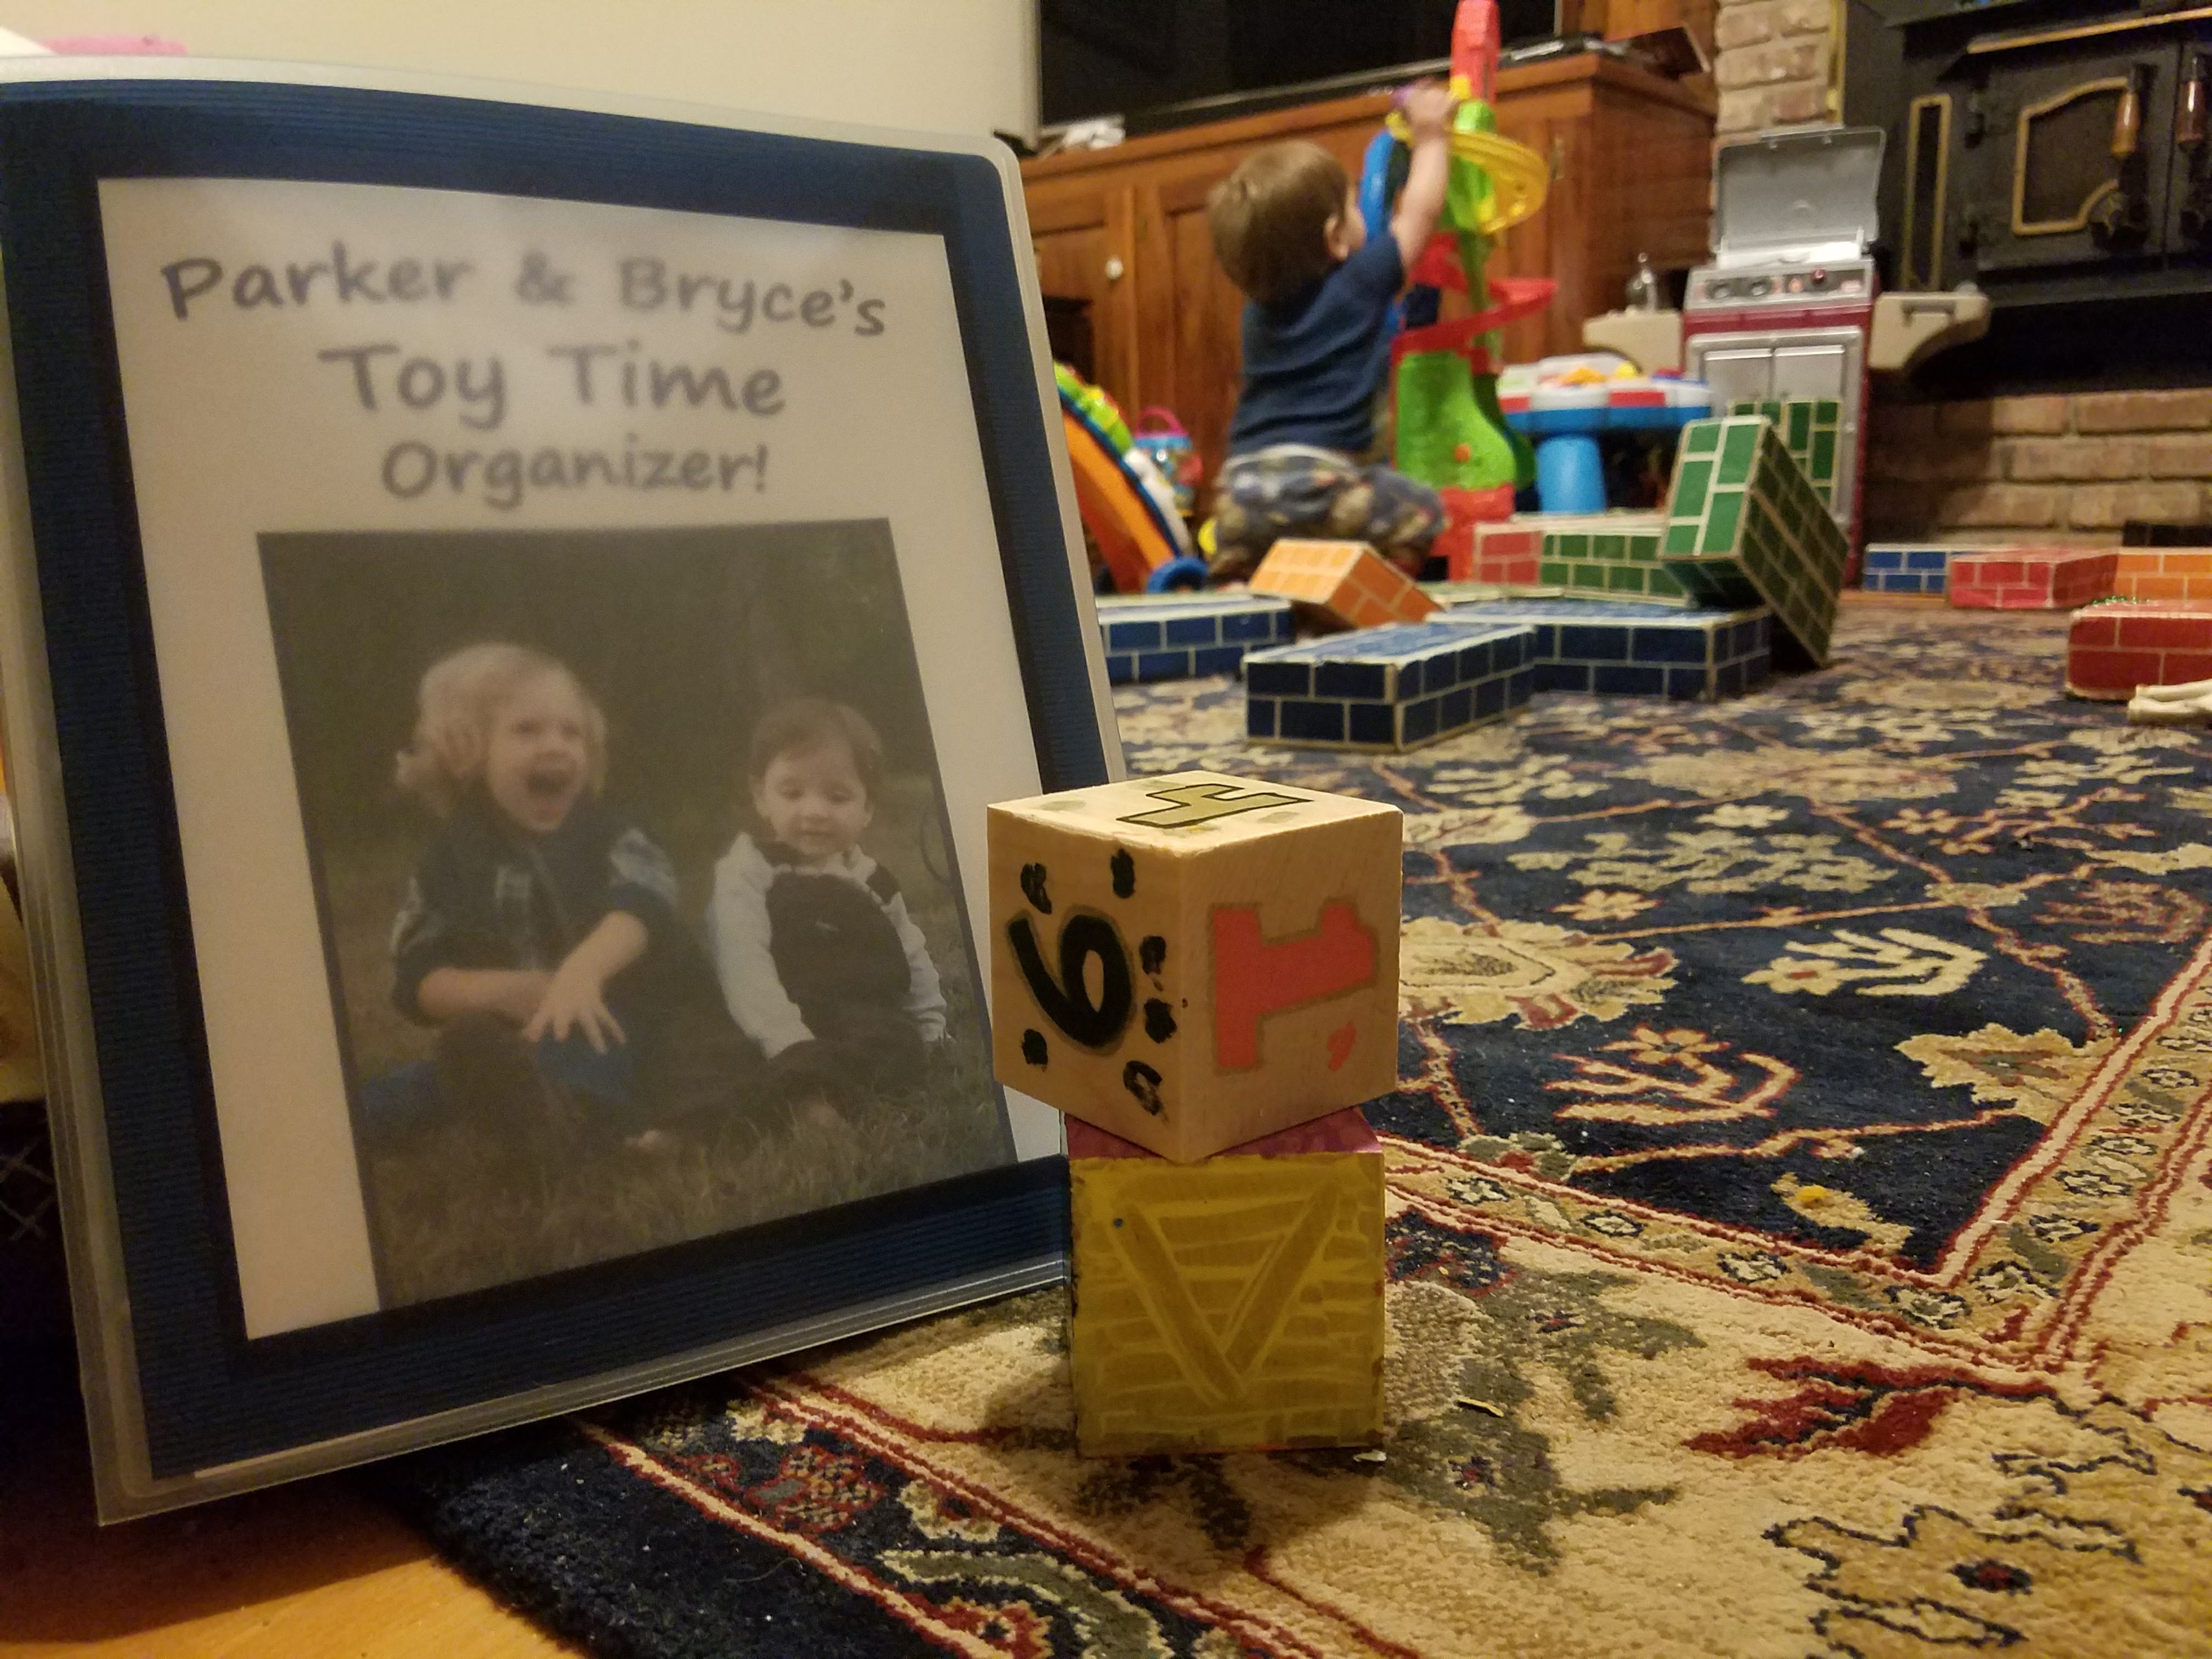
Title Page
- Use a binder with a transparent front.
- Use sheet protectors. Hopefully this will prevent total destruction.
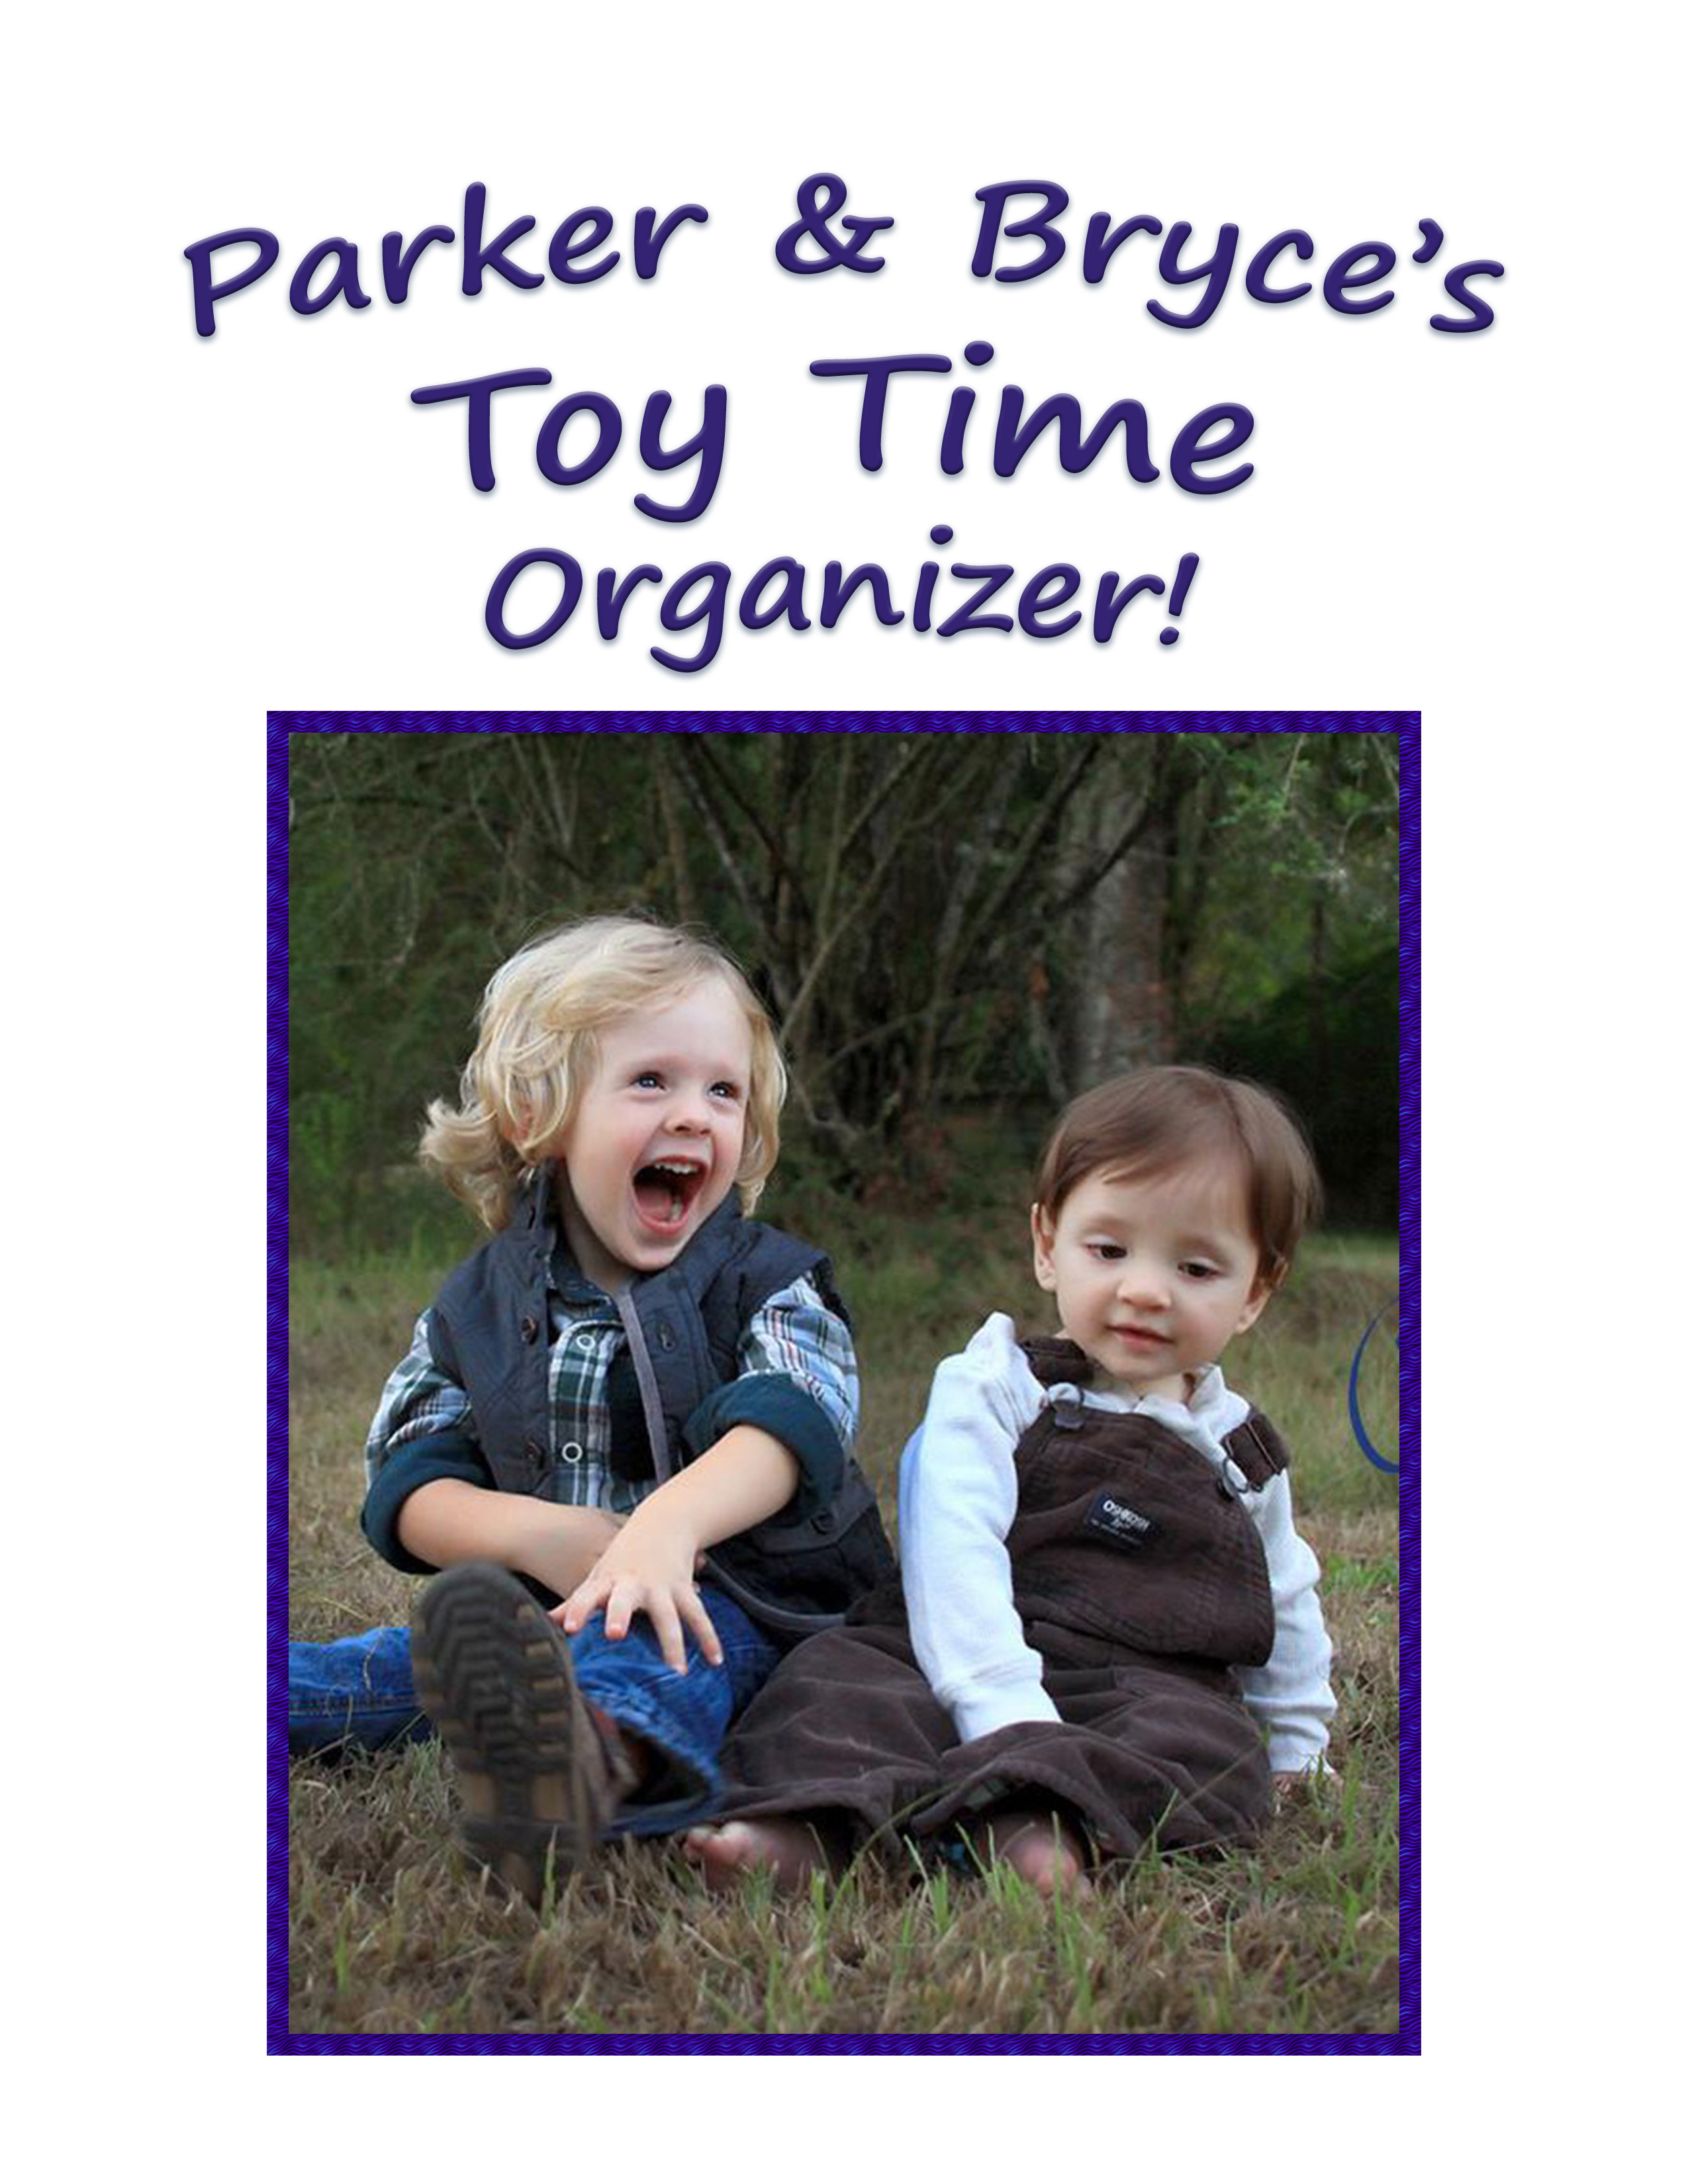
10. Create a fun title page
- My kids were super excited to see their pictures on the front of the binder!
Watch the Video of our first time using our Toy Time Organizer. Fingers crossed that this will help me get back to my organized ways!!


0 Comments